
DIY Rustic Picture Frame Any Shape You Want!
This project turned out better than I had hoped so I thought I would share! The only materials I used 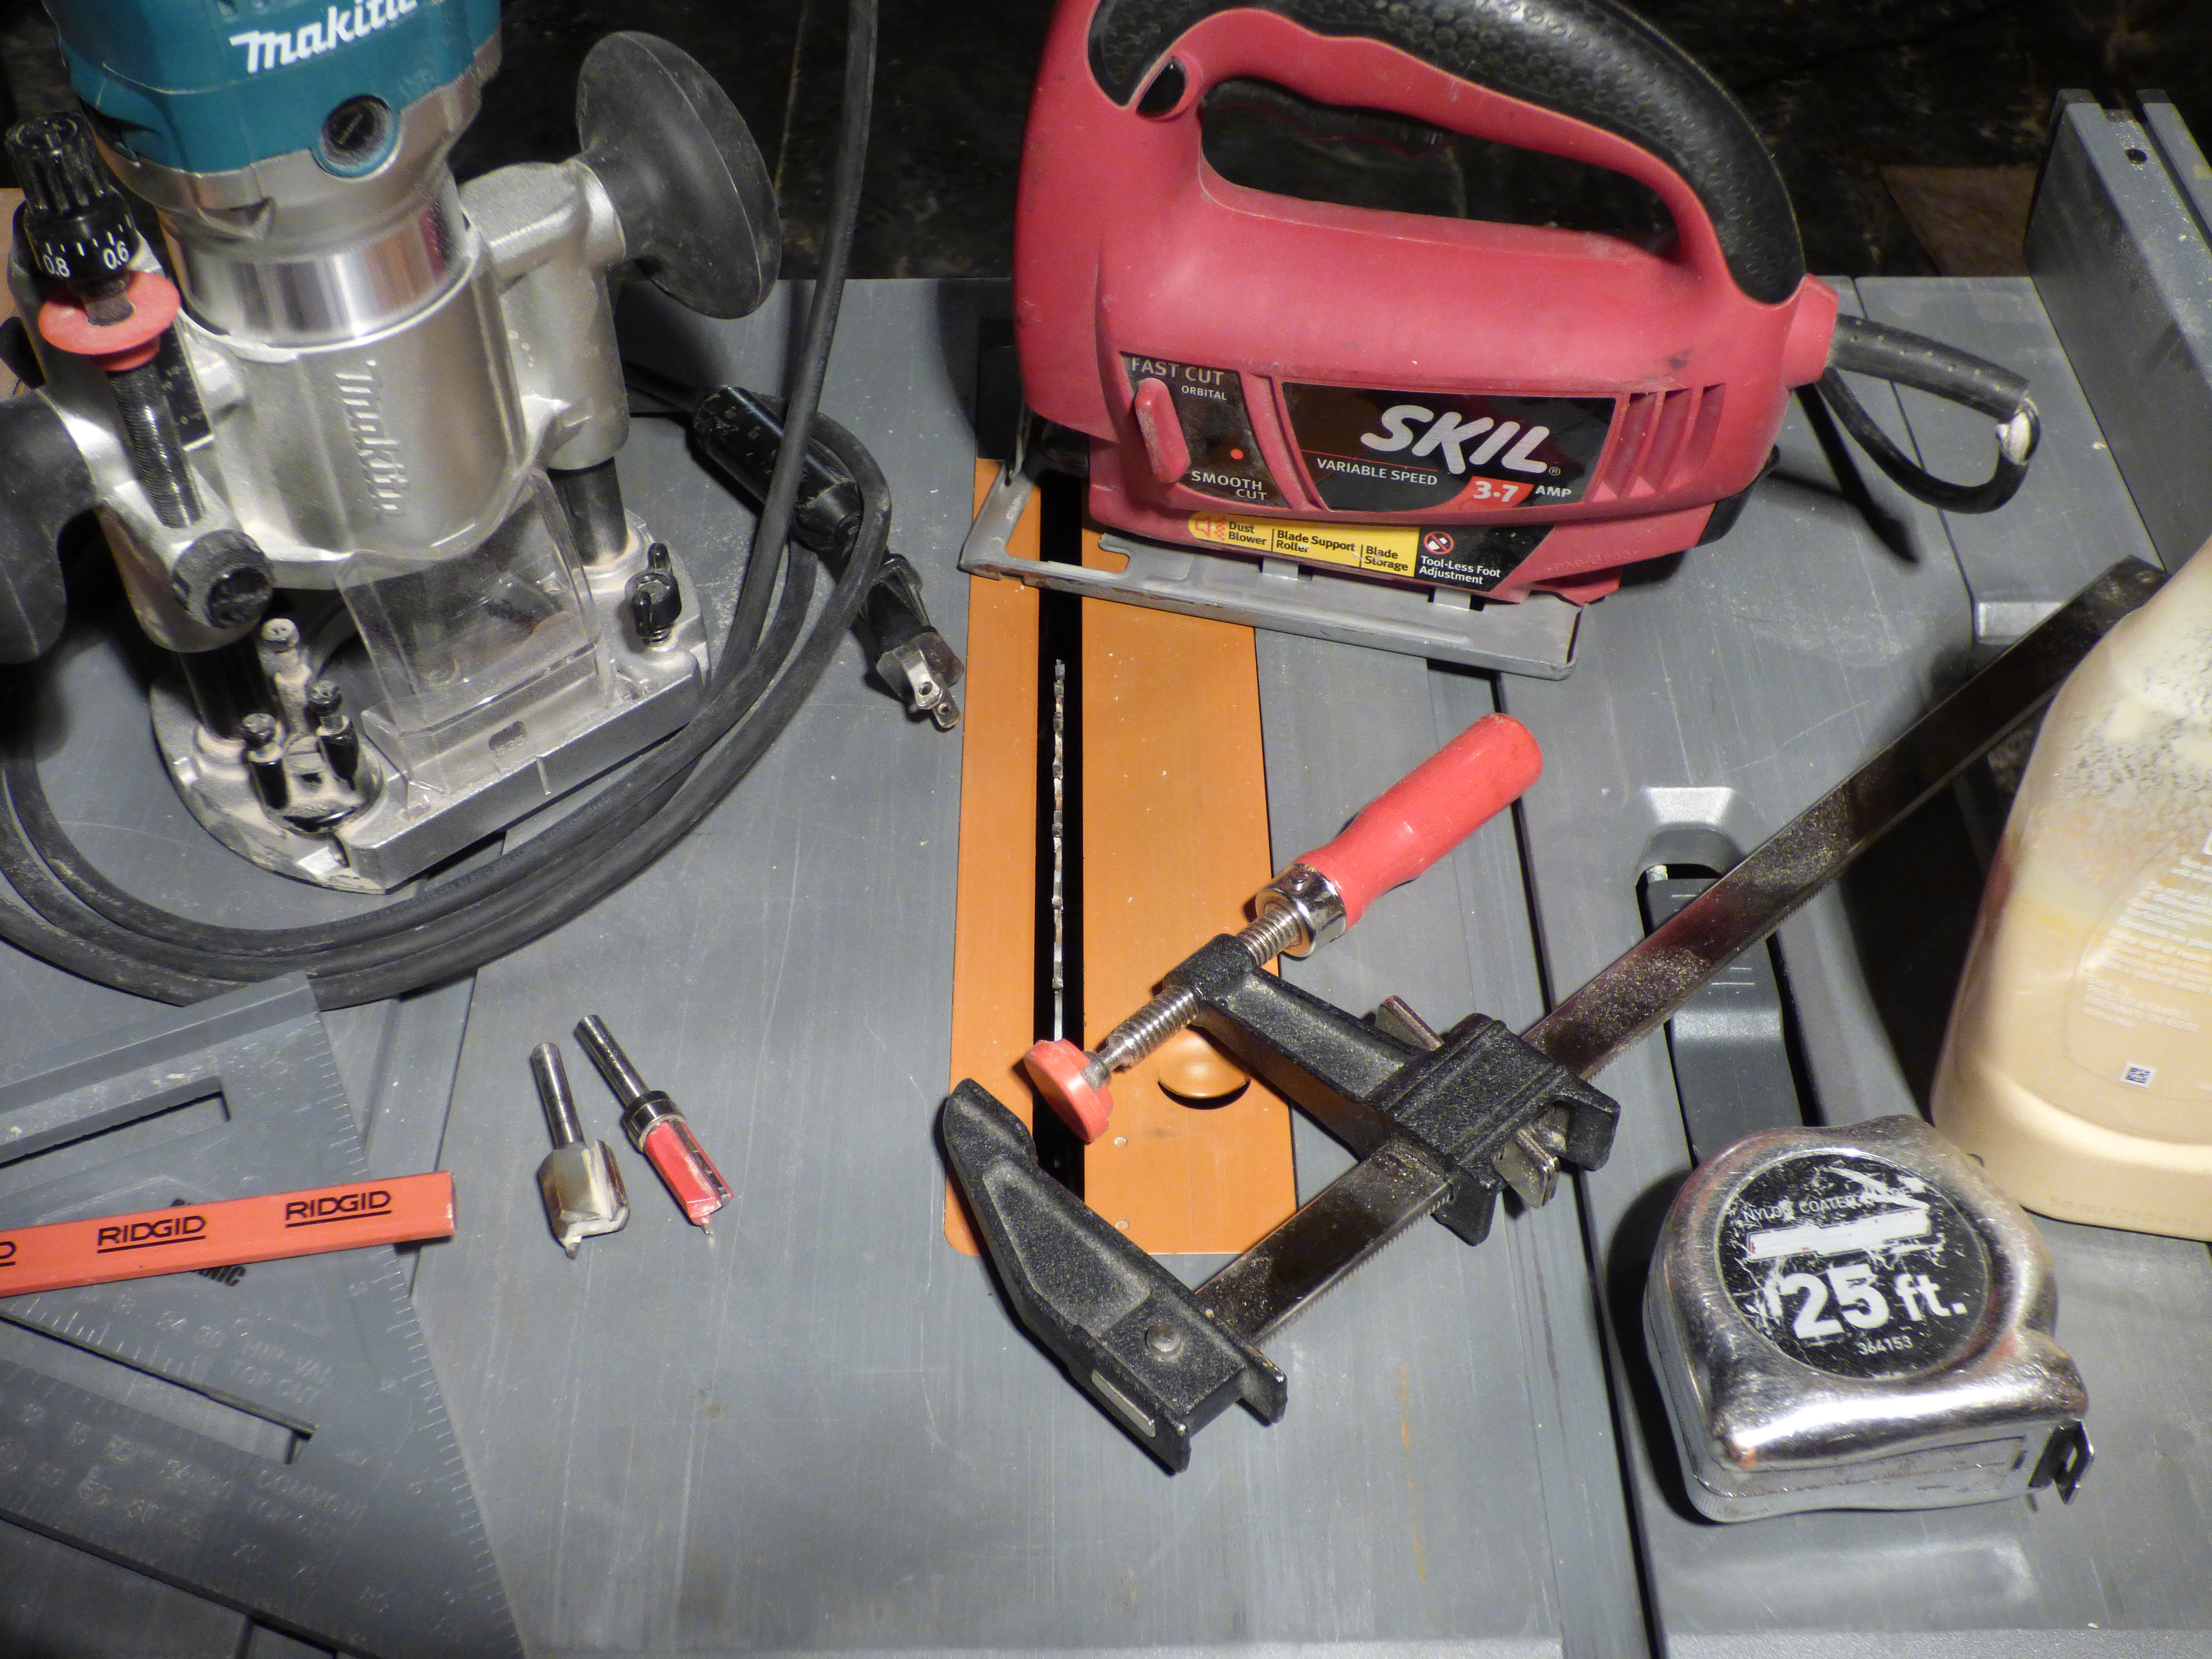 were:
were:
- 1/4″ MDF core plywood for the base
- Cedar 1x2s for the front of the frame
- A few strands out of some left over stranded copper wire
- Wood glue
- And a couple little screws for the hanger.
Of course you could use this idea and substitute materials you might have on hand. A couple tools came in pretty handy too. I used a jig saw, table saw, router, clamps, and a square.
First thing I did was go online and find a good outline of the shape I wanted. In this case, Idaho. You could make this any shape you want. I had to re-size it so it would accommodate a standard photo and then I printed it out. Mine came out on two pages so I had to tape them  together to make my template. With the template I could tell how much scrap wood I was going to need to fill the shape, so I started cutting the 1x2s thickness in half to make them 1/2 x 2s ( actual dimensions ended up 5/16x 11⁄2) when I had enough for my shape I put them on some wax paper (so they would not become part of my bench) and glued them all together width ways and clamped them. While that was drying, I taped my template on to some scrap 1/4″ plywood. Using a jig saw with a coping blade I took my time cutting around the template best I could.
Next, I wanted to create a way to swap out pictures in the frame. Using the router and a photograph as a template for size I routered a space for the photo to slide in. To make this easy I set up a temporary jig that held the plywood in place and created a good straight edge to run the router on. To set the jig I just marked where the photo needed to be, set the router down on the plywood cutout so the bit was on the line and placed the straight edge so it was touching the router base. Did this to all three sides and squared it up and screwed them down. Set the router to a thirty second with a plunge bit and followed the the simple but effective jig. ( Shown here) At this point the glue on the cedar was still not dry so I put the project on hold ’till the next day.
After the glue was dry I placed my plywood cutout on the cedar strips where I wanted it to end up and marked the cedar so I would know where the window opening for the photo had to be. With that figured out I made another crude, but effective jig and cut the window opening with the router. I used a 3/4″ straight bit because I was going for nice rounded corners. When the window was cut in, I lined up the window with the cutout I made in the plywood and glued the two parts together. I was diligent in making sure no glue spilled over into the photo slot. To clamp the two parts together I just sandwiched them between two 3/4″ plywood scraps. Then I had to wait again…. After the glue was dry, I changed the bit in my router over to my flush trim bit with the bearing on the bottom. Using the 1/4″ plywood as the guide for the bearing, I ran the router around it making the cedar flush with the plywood cutout. This was the result:
 A quick hand sanding to clean up the edges and it was looking pretty good. To make it easier to change the picture out, I ended up routing out a slot in the back big enough to get a hold of the photo. Only thing left was a way to hang it. I ended up robbing three or four strands out of some stranded copper wire and attached them to the back with some small cabinet screws. Like This:
I have posted a video of this project on my YouTube Channel. So you might want to subscribe there if you haven’t already. I hope you enjoy making one or more of your own! If you do, I would love to see it! You can post it on my Facebook page or comment down below with a link! Have fun!