My Simple Pallet Bench
After getting numerous comments on this bench from various people, I have decided to post a quick how-I-did-it. We have used this as a business work top, coffee center, and temporary kitchen island. I am sure you could modify the height and size to suit whatever you have planned for it!
First I scavenged some pallets. I found some that had good 1x4s, 1x3s and some good 2x4s in them. 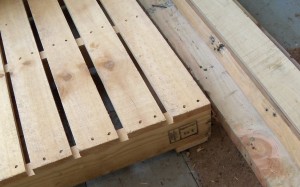 I took them apart, trying to keep the 1Xs intact best I could. You can do it the old fashioned way and take a hammer and pry bar to it, but in some cases they use those special pallet nails that hold stronger than the wood. A sawzall with a metal blade can make quick work of them if you just run the blade in between the boards and cut through all the nails.
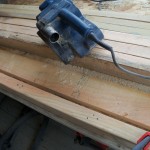
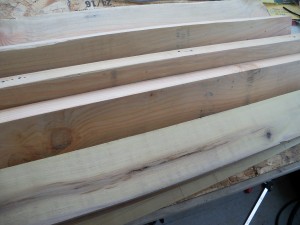 After I had all the pieces out of the pallets I needed, and some extra for room for error, I sanded them all real good. They were nice and smooth after I got done with them. I have found it so much easier to sand the material before building.
Then I got out the Miter saw, wood glue, drill, screws, and brad nailer. This is when I start having fun!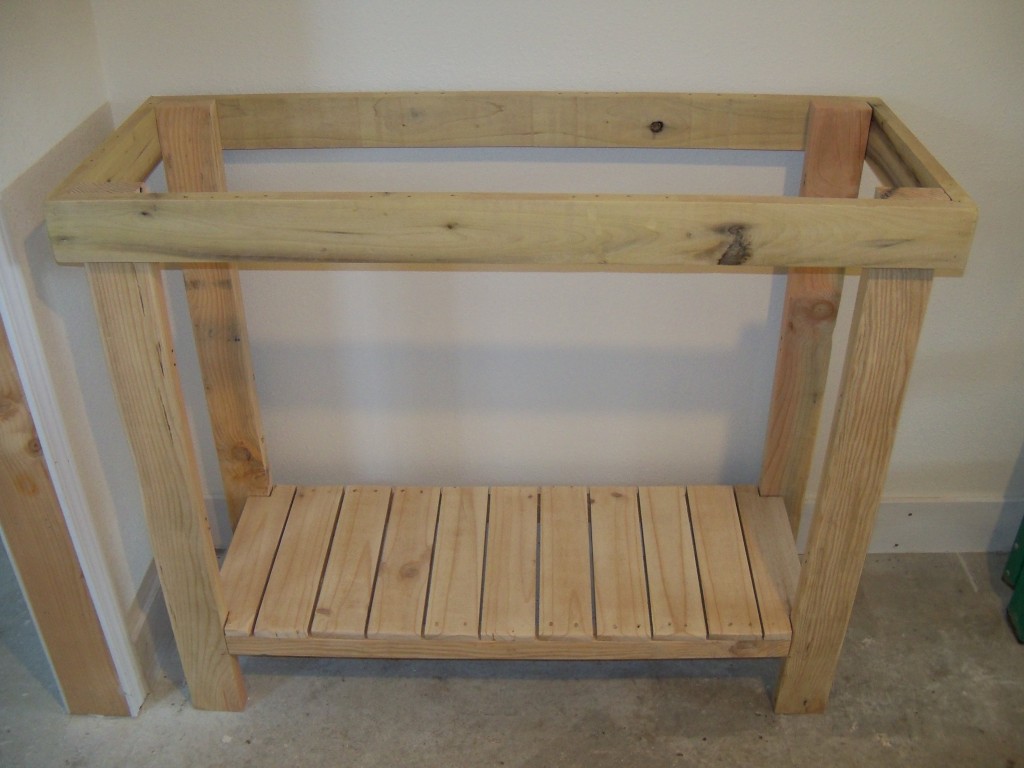
This shows the design. I used the 2x4s as the corner supports and legs. I used some true 1xs to box in the 2x4s for support for the top. As you can see I mitered the edges to 45 degrees for a nice clean look. For the bottom shelf support I ripped a 2×4 in half to get 2x2s. Then I cut a bunch of 1xs to deck the bottom shelf. You could do the same with the top, too, but I had this piece of nice plywood a friend gave me that I decided to use. I gave it one more sanding all around and called it good! 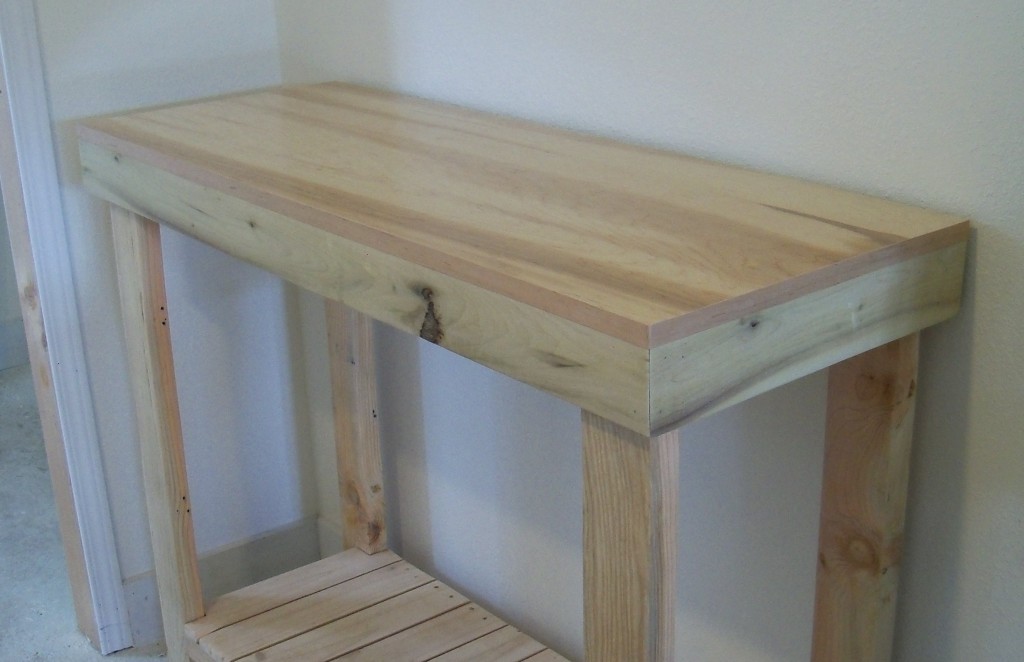 To attach the top I glued it and brad nailed it from the top. If you have a pocket jig to screw it down from the bottom this would be a better choice. That’s it! Now enjoy your new, low-cost workbench/island/coffee center (perhaps it would be best to serve only one of these purposes at a time)!
Thanks for looking! I am always fixing or building something, so you might want to subscribe as not to miss anything!
